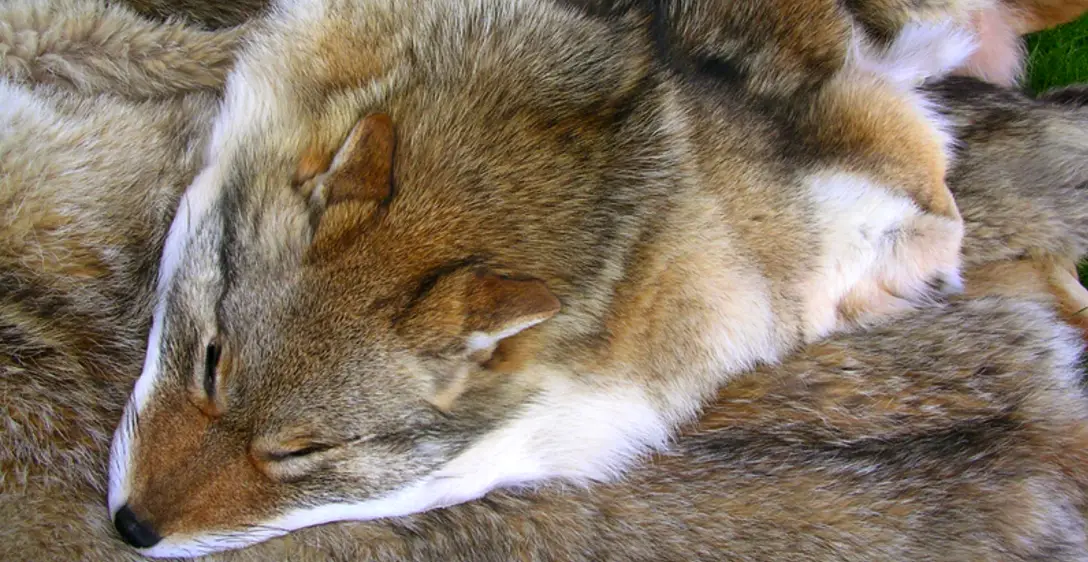
 If you’ve been hunting coyotes long enough or just getting started there will come a time you’ll want to have one tanned. The pelt/skins of coyotes are known t be a delicacy all around the world. Whether its your first coyote or a particular one you were after or just a unique color or hunt, you’ll want one for yourself. But some questions arise. Where do I get it tanned or can I do it myself and how do I go about getting it tanned either way. Will I ruin the fur?
You can take it to a taxidermist if you want, but for some you’ll want to try your hand at it. You might think it will be tough to keep the coyote fur perfect but tanning really isn’t all that difficult and with all the info out there today which is easily accessible you can do it yourself.
I’ve been tanning my own pelts for over 30 years now and have a nice simple way of going about it. I’ve tried and used many different tans over the years and each have their own pluses and negatives. Negatives being difficulty in having just the right amount of ingredients and also toxicity.
For now this article will focus on the simplest of tans that is great for a wall hanging and both work quite well for that purpose.
To get started you’ll need to prep the hide for the tan. After skinning the coyote you need to flesh or remove the fat and excess meat from the pelt. This can be done by scraping it off by placing the hide flesh side up on a fleshing beam and using a draw knife to scrape the fat and meat off. I know of others that will just use a big knife and lay the pelt over a 2×6 or similar and scrape the hide so it’s clean of meat and fat.
 Once the fleshing or skinning is done you can do one of two things. You can lay the pelt out flesh side up and salt it with canning/pickling salt non-iodized. And then leave it sit over night, this helps set the hair on the hide and prevents spoilage, especially if the hide isn’t fresh. If the hide is spoiling already, no amount of salt will stop the fur from falling out. That’s why is important to start on the hide as soon as possible after skinning or freeze it after skinning. If you’re using a hide thats been frozen then thawed and fleshed, it’s best to salt over night. The other way way is to get the hide in the tan or pickle right after fleshing and washing.
Before placing the hide in the pickle bath/tan it’s important to wash the hide after the fleshing and/or salting. What I do is put a little dawn dish soap in a 5 gal. bucket and fill with cold water and immerse the hide in it and slosh it around until the water is dirty. Then I’ll dump the wash water and refill the bucket with cold water only and rinse the hide, plunging it in and out of the water till the water is dirty again. Keep refilling and rinsing until the water is fairly clean, this gets rid of blood, dirt etc. in the fur and makes for a good clean pelt. After you wash the hide hang it and let it drain for a half hour, somewhere cool and out of the sun.
While your hide is draining it’s time to mix up your pickle or tan. This step is done prior to the actual tanning but is also considered a tan or acid tan. Chemicals today are more enviromentally friendly and safer than they were 20 yrs ago. So take a 5 gal. bucket and dump in 2 gal. of white vinegar and 2 gal. cold water and 4 lbs. of pickling canning salt. Mix this solution thoroughly with a something like a broom handle or something similar made of wood or plastic. What you have now is a pickle bath or an acid tan depending on what you do later. Now that this is mixed up and stirred well, take your drained coyote hide and immerse it in this solution and stir it around until all parts are submerged. You now leave the pelt in this solution for 72 hrs. or 3 days, stirring it a couple times a day. After the 3rd day you can check to see if its done by pressing your thumbnail into the flesh side of the hide, if the indentation stays, it’s done.
 Now it’s time to neutralize the hide. Take the coyote pelt out of the pickle/tan solution and rinse in cold water for about 5 min. then hang outside to drain for a half hour. While your hide is draining dump in a cup of baking soda gradually into the pickle/tan solution to neutralize. Add slowly as the baking soda will make the solution foam. Once the baking soda has been added and the foaming stops, discard the whole solution and rinse the bucket. Now add 4 gal. of cold water and 12 oz. of baking soda or 3oz. of baking soda per gal. of water. Now take your drained coyote pelt and add to the baking soda water and agitate it by sloshing it around and do this for 15-20 min.(no longer) this will neutralize the acid in the hide.
Once the time is up, remove the hide and rinse again in cold water and hang to dry. At this point you can either mix up the tan from the link I provided above and follow its directions. Or you can continue on with finishing the hide as an acid tan. First I like to wash the hide one more time using woolite. Just get the fur wet and rub in woolite into the fur side to wash the fur, then rinse in clear cold water a couple times until the soap is gone. Then hang and let drain another half hour.
Once the hide has drained of excess water you need to oil the flesh side of the hide with a tanning oil. You can get the tanning oil through the link I provided. Its special in the sense that its water soluable and will mix with water and soak into a wet hide. I usually mix the tanning oil with water 50/50 using water I boiled and adding to the oil. You can make your own by using neatsfoot oil from a farm supply store thats used for oiling saddles and tack. When using this oil you will have to mix in dawn dishsoap with the oil so that it will mix with the water, about 2 tbs of soap to a pint of oil, then add hot water. Its a little messier than the premade tanning oil, but does work. Once you have your oil hot by adding boiling water, take and lay your coyote pelt out, fur side down. Then pour little amounts of the heated oil onto the flesh side of the hide, rubbing it in by hand. Once the hide is covered in the oil let it set until any puddles and excess oil has soaked in, usually a couple hours.
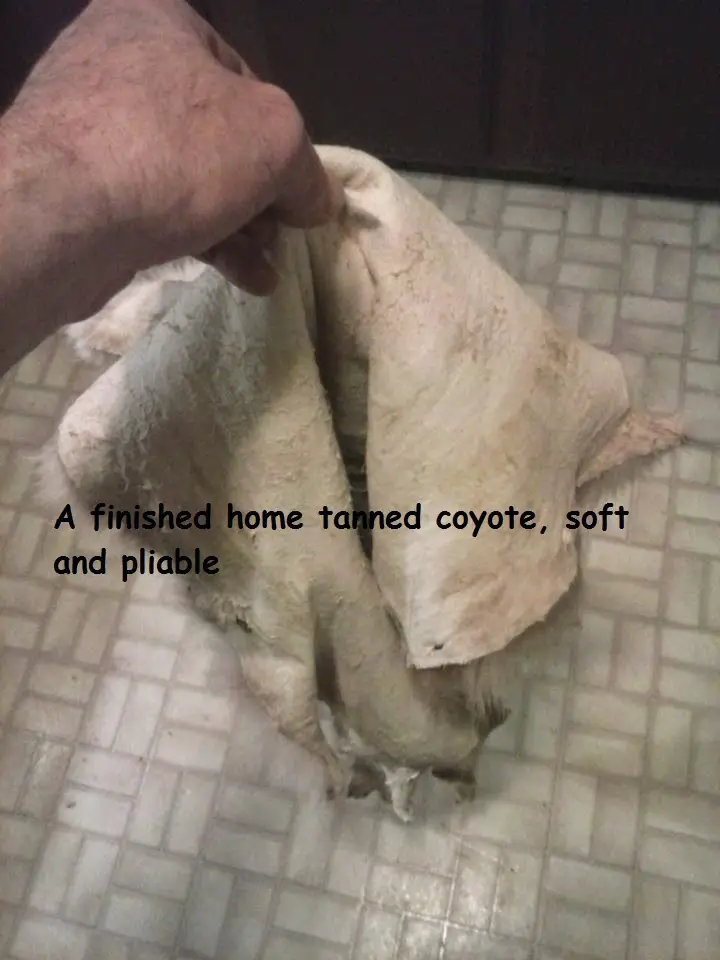
Now it’s drying time and breaking time. Breaking the hide is what makes the leather soft. What you do is continue to let the hide dry. As its drying the thinner spots of leather will dry first, the spots will feel slightly dry and stiff to the touch. On those dry spots, take and stretch and pull the hide on those spots with your fingers, you’ll noticed these spots will immediately turn white when you stretch them, this is called breaking. What you’re doing is breaking the fibers in the leather to make it soft. Only work on spots that are drying, as the wet spots will only get hard if you work them when wet. The reason is when its wet, it doesnt break the fiber, it only compresses them, so when its dry it’ll be stiff. It’s a slow process, but the good news is you only have to break the dry spots for a couple mins a couple times a day then leave sit inbetween, then eventually the complete hide will be done and broke in time. As the dry spots become larger you can run them over a boards edge to help break the hide. Each spot you break will have some dampness to it after breaking which will dry again, you’ll know when its done breaking when the hide stays soft and pliable after not being worked for a while.
Once the hide is broke or close to it, I like to take and lay the hide out fur side up and dump corn meal on the fur, then rub the corn meal in for about 15 min. of non stop rubbing. Then take and shake out the cormeal, this removes any residual dirts and oils from the fur and makes the fur feel soft and silky. The dusty residue will fluff out of the fur on your final hide breaking sessions.
Once you’re done you’ll have a nice hide to hang on the wall next to the fire place or gun rack or in the man cave. And a satisfaction of doing something yourself with a fur you took yourself.